How to Replace Fences?

We’re proud of every fencing project we finish, from the quality fencing options we offer to putting the final panel in place. Whatever kind of fence strikes your fancy, rest assured it’ll last from one generation of homeowners to the next.
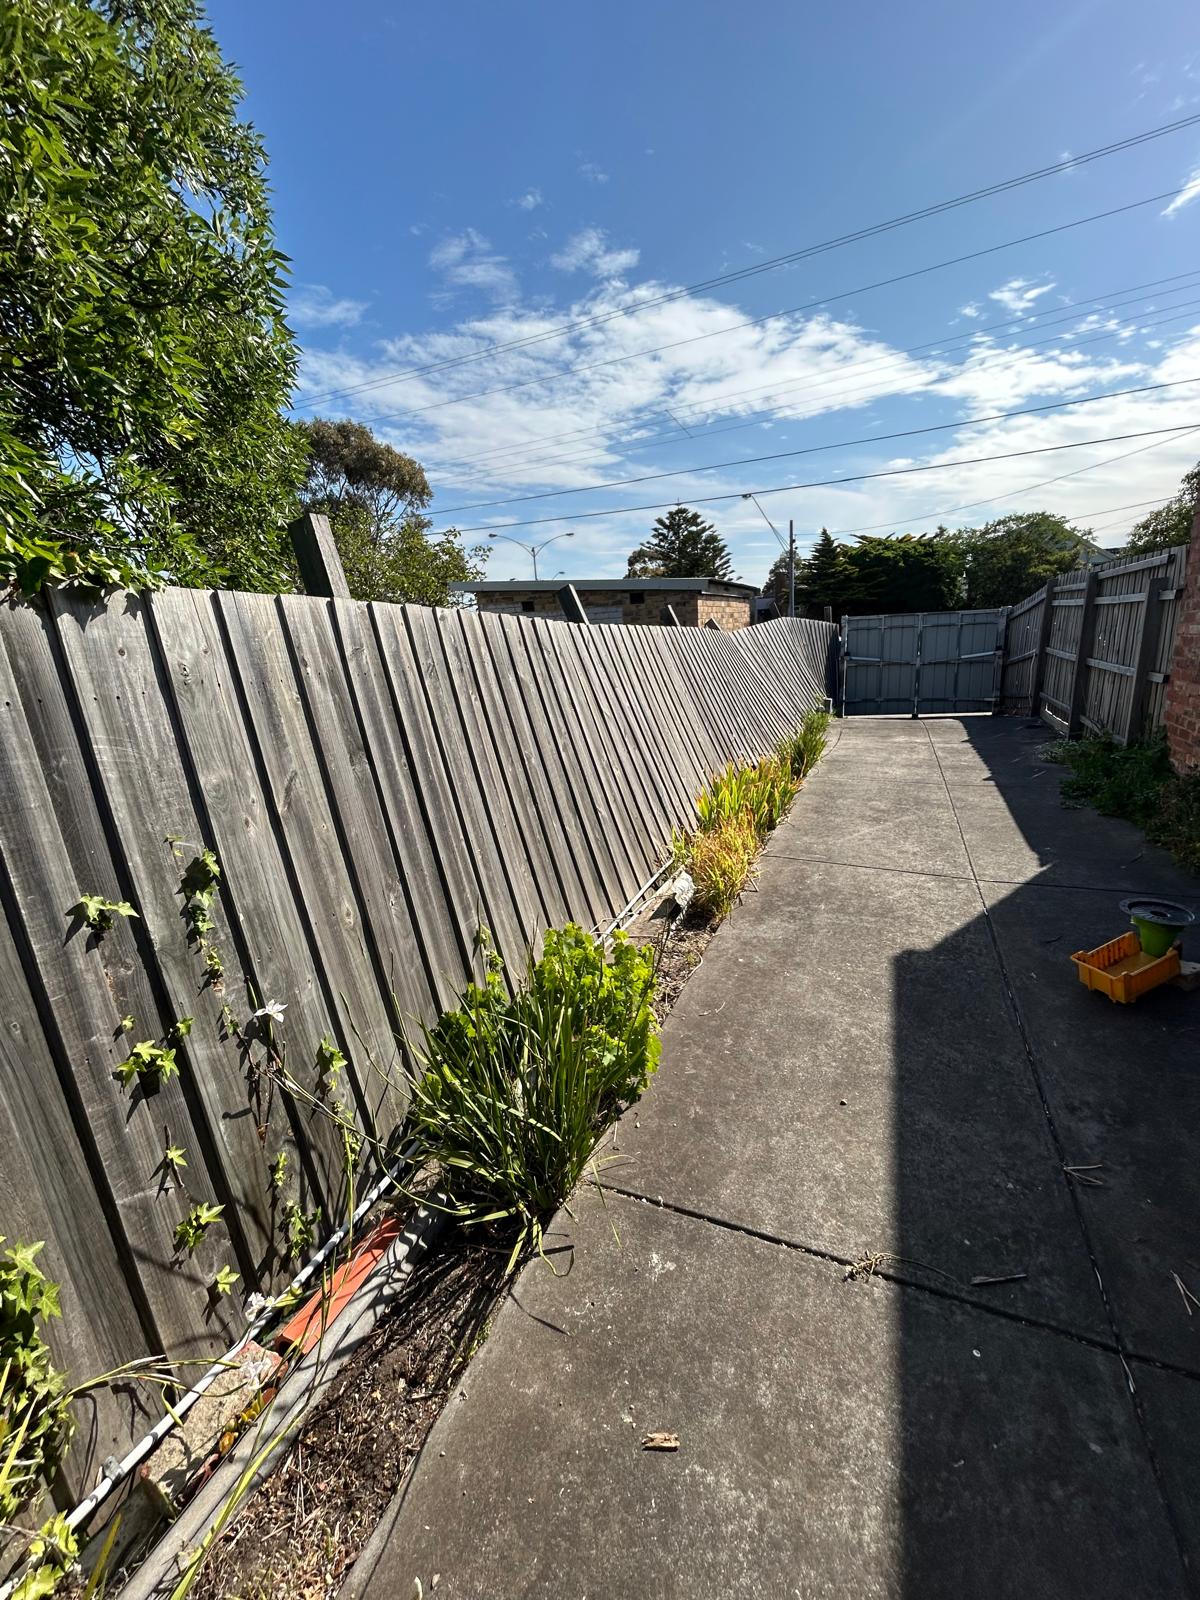
Sadly, nothing made by human hands lasts forever – including fences. Constant exposure to the elements or a freak accident will take its toll on the fence, be it made of dependable treated timber or tough-as-nails steel. Or maybe you feel like the fence that came with the house doesn’t impress you in the slightest, and you want one with more oomph.
Either way, it pays to be prepared. As much as we highly recommend calling in an expert in installing fences in Australia, we understand if you decide to go down the DIY route. In that case, let this blog post guide you on everything you need to know about replacing fences, including the necessary tools and techniques.
Tools and Materials Needed for Fence Replacement
First things first: you’ll need a big enough toolbox to fit the necessary tools. Your toolbox may vary depending on the type of fence to be replaced and the one that’ll replace it. In most cases, your toolbox should have at least the following:
Post Hole AugerEnsuring a perfect fit for the fence posts on the ground requires a post hole auger or digger. If you can’t afford a powered auger, a manual one will suffice. |
ShovelExpect to mix concrete for the post foundation, which is where a shovel comes in handy. A standard shovel with a wooden handle and triangular grip will do. |
Stakes and String LinesGiven that we’re talking about a full replacement here, marking the points will be important. A dozen stakes and string lines will be a great help. |
Post LevelA post level can ensure two posts are perfectly aligned with one another, allowing you to install fence panels with ease and resulting in a fence that isn’t an eyesore. |
Tape MeasurePrecise measurements are a must – that goes without saying. That’s why no one ever conducts any home improvement work without their tape measure. |
SawsSometimes, fence panels, posts and plinth boards aren’t manufactured to custom specs. Having a few saws can help you make the adjustments you want. |
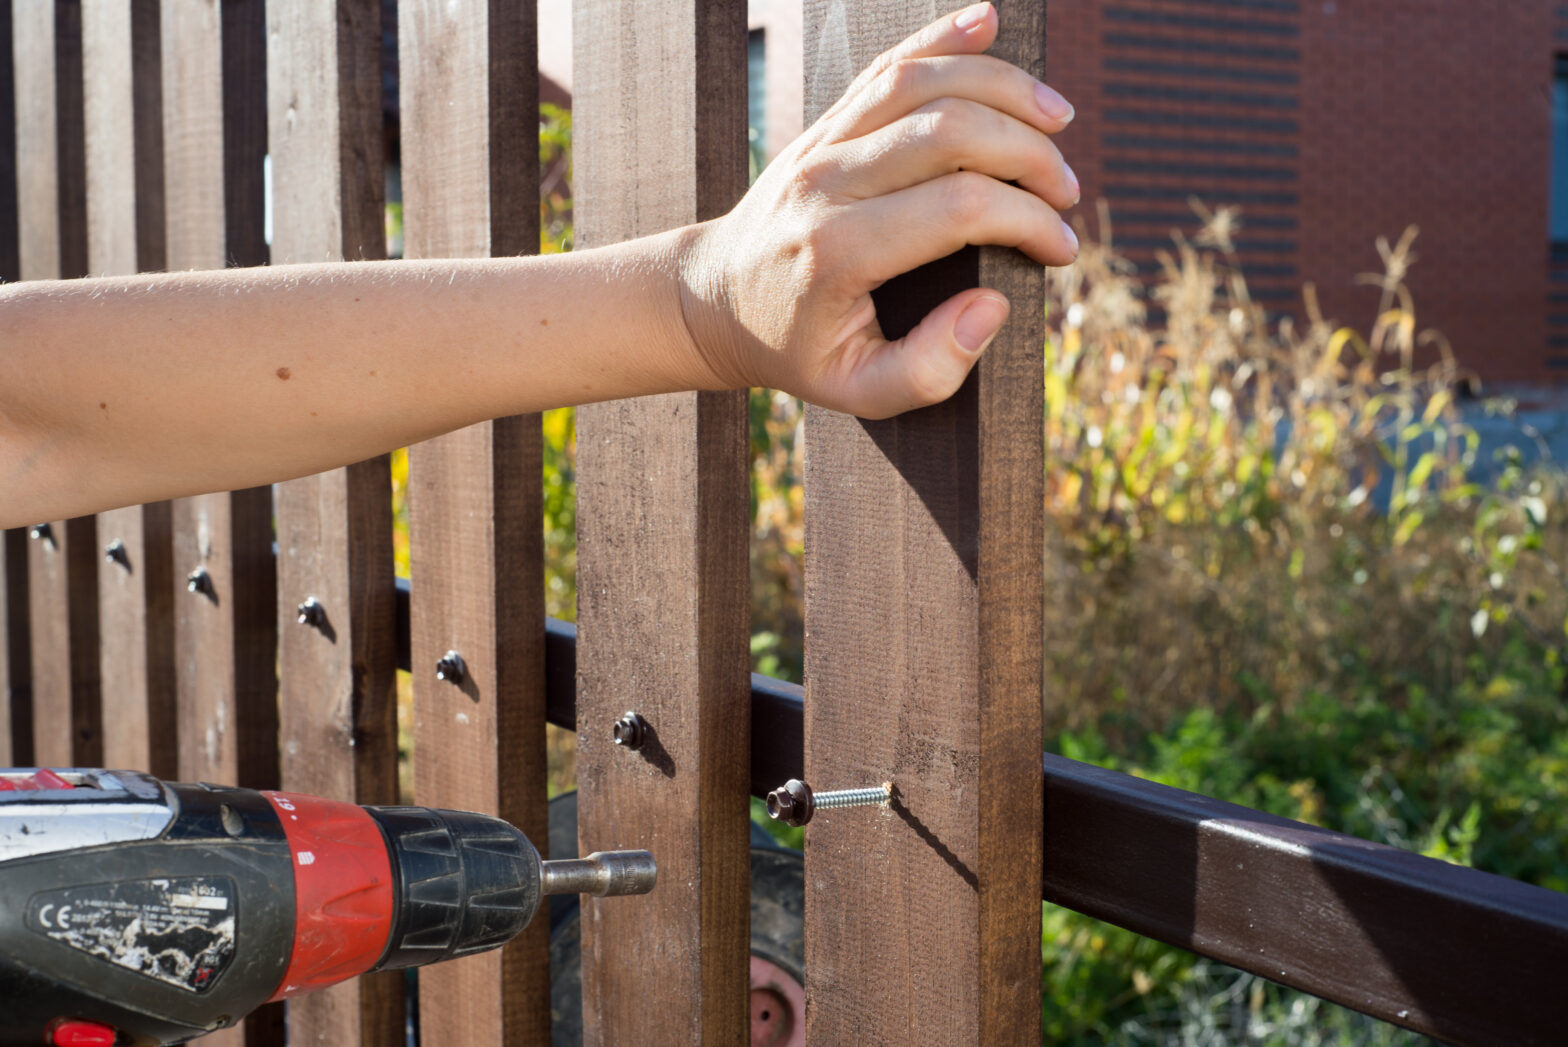
Power FastenerWhile you can use a manual one, a power fastener can make quick work of nailing or screwing parts of your fence and lower the risk of the fence breaking down. |
Protective WearThick gloves, safety goggles and heavy-duty boots must be a part of your DIY fence maintenance and replacement get-up. A lot can go wrong, especially when using power tools. |
WheelbarrowA wheelbarrow may not fit in a literal toolbox, but with some materials and fence panels being heavy, you don’t want to forego this piece of equipment. |
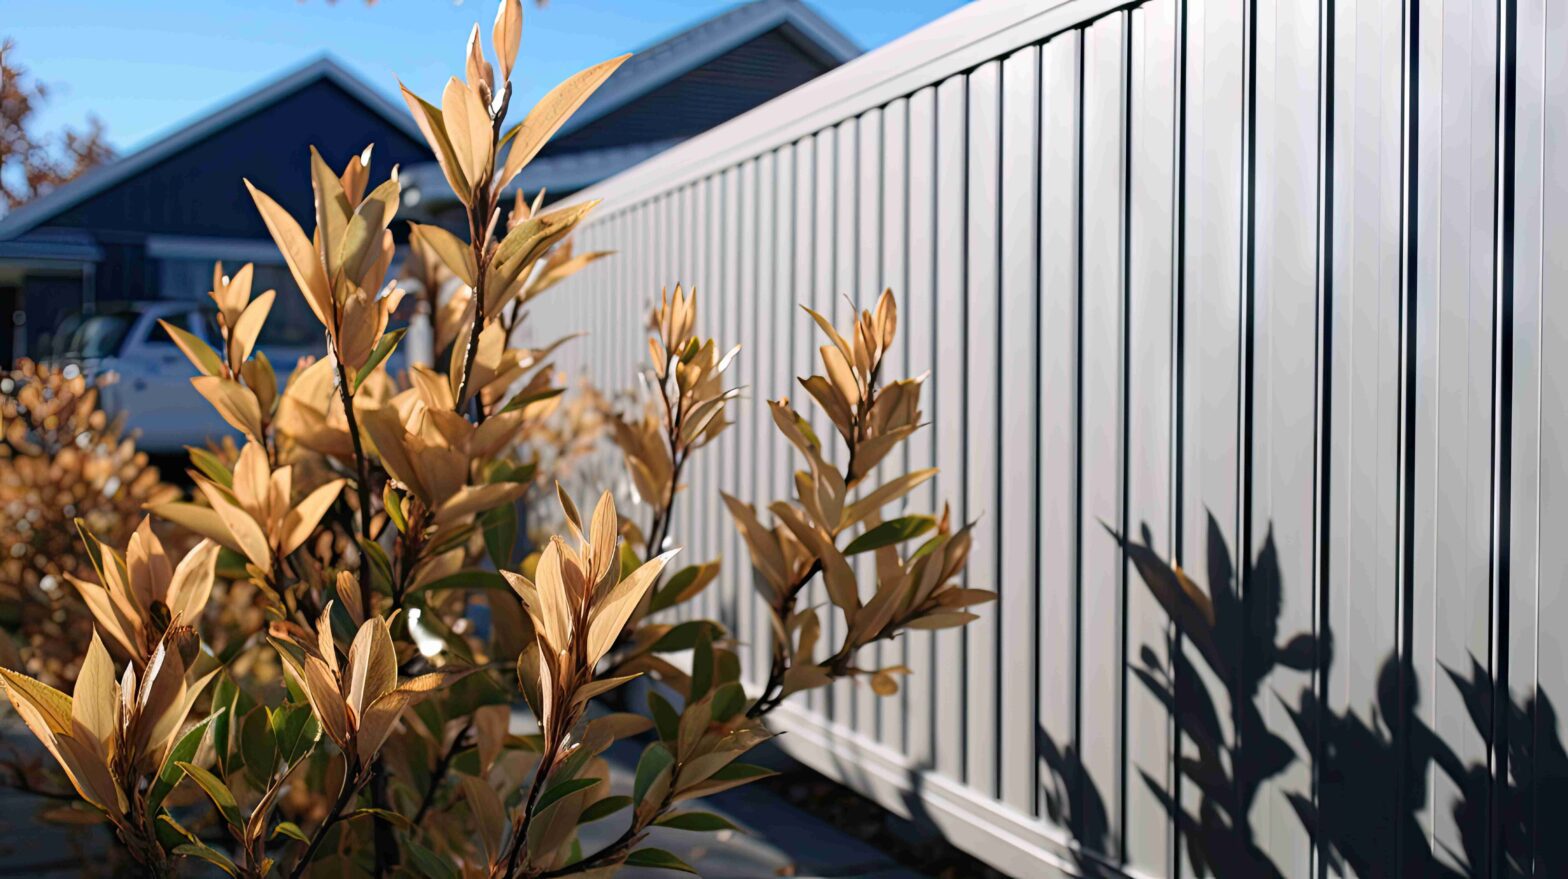
It’s also worth noting that different fencing options vary in DIY difficulty. Picket fences are the easiest to DIY because they’re small and can be set up without much digging and laying the foundation (unless they’ll stand on a retaining wall). On the other hand, steel ones like tubular steel and COLORBOND® fences are hard due to their weight and, in the latter case, the risk of invalidating the manufacturer’s 10-year warranty.
Step-by-Step Fence Replacement Process
Unless the fence repair involves only a portion of the fence, replacing the entire fence can take several days or weeks when DIY. Don’t even think about completing the fencing work in a day or two, as holding tools while fatigued is a recipe for disaster.
- Dismantle the Boards or PanelsStart by unscrewing or removing fasteners holding the fence panels or plinth boards (for wooden fences whose pickets are installed individually). Use an electric screwdriver with the right head attachment to remove screws or a claw hammer to remove nails. It’s up to you whether to dispose of the old fence materials or breathe new life into them.
- Pull Out the Fence Post with the Footing Some wood fence posts can be easily removed by pulling them out of the ground, along with the concrete footing. If it doesn’t budge, you can try a few tricks, like rocking the post in all directions or making the hole slightly bigger. If possible, have someone help out with this step, as lifting the concrete footing can be backbreaking. In fact, we recommend having a friend or family member strong enough to assist with the rest of the replacement process.
- Clear the Hole and Fill It With AggregateRemove any debris that may have fallen onto the hole, then fill it with enough aggregate material. These loose rocks or particulates help drain water away from the post, which is important for a wooden fence post as they can rot when exposed to enough water (yes, that includes treated timber). We suggest filling it up to four inches from the base.
- Place the New Fence PostPlace the new post into the hole and ensure its straightness using a spirit level. This is another reason you should have a helping hand, as they can help align the post while you plumb. That said, for timber fences, you can get away with doing this step on your own by nailing a pair of two-by-fours to stabilise the posts.
- Backfill with a Dry Concrete MixWith your companion or the two-by-fours holding the post steady, you’re free to create a dry concrete mix for the backfill. This mix has less water than the standard one, which has several advantages. The lower water content allows it to set more quickly and hold the post more effectively under all weather conditions. To create this mix, we suggest using a 1:6:12 mix of cement, sand and aggregate. Then, add one litre of water for every six kg of this concrete mix. As it dries fast, expect to race against time to pour enough of the stuff into all the holes. Remember to taper the post’s base so that it dries up as a drainage slope.
- Apply Caulk to the Post’s BaseConcrete can expand or contract when exposed to heat or cold, respectively, resulting in small fissures that can allow water in. Once the concrete dries, apply enough caulk on the base to seal the footing and give it some time to cure.
- Assemble the New FenceWith the new posts secure, you can work on the new fence installation according to instructions. The steps vary by the type of fence you have.
Note that this fencing work only applies to in-ground fences. If you want your fence to stand on a retaining wall, that wall will have to be made first. You may need to purchase materials in excess to account for wastage due to errors.
Keep up with the latest from Grays Fences & Gates
Subscribe to our blog and get latest news, inspiration, and resources delivered directly to your inbox.


